Tutorial: How Clients Book Appointments With Acuity Scheduling

Acuity Scheduling clients can schedule, reschedule, and cancel appointments on their own. In order to optimize your client's user experience, it's important to have an understanding of how clients self-book and manage their own appointments through Acuity.
How clients book appointments online
Clients can book appointments through a scheduling block on a Squarespace website, a scheduler embedded on an non-Squarespace website, or through a scheduling page.
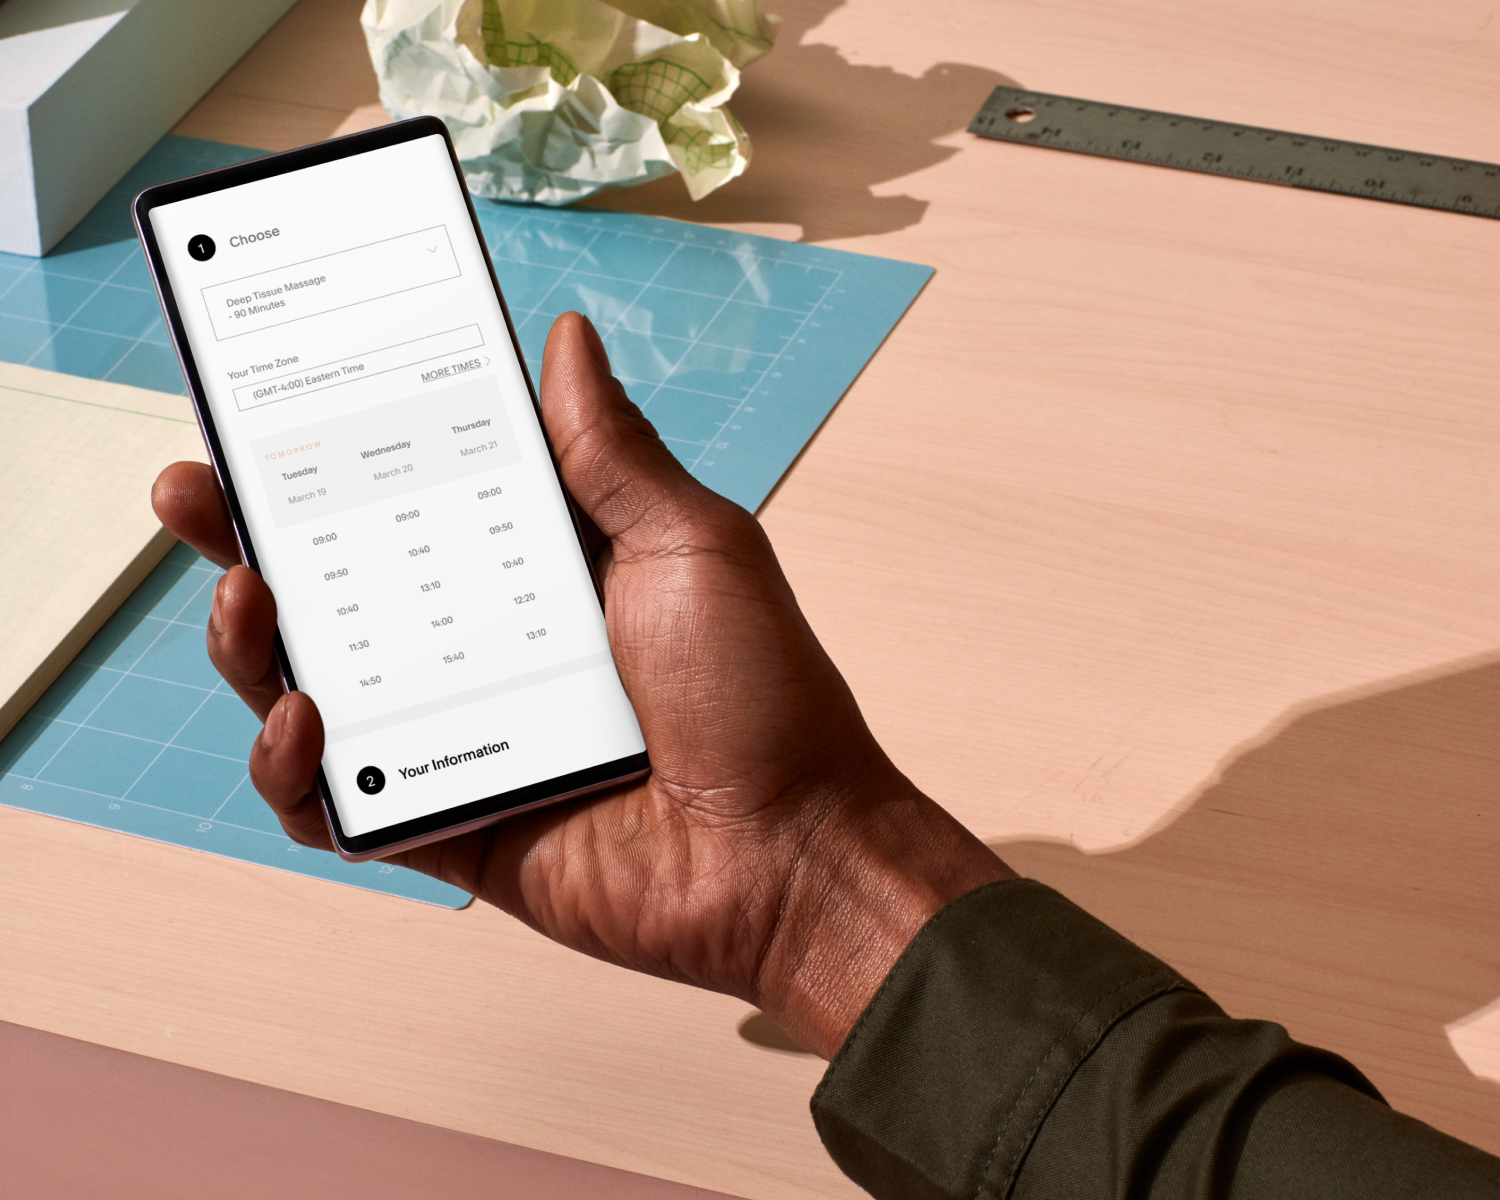
Booking an appointment
Your client will start by choosing an appointment type. If you have more than one calendar, they’ll select a calendar relevant to their booking. Clients are then shown a list of available appointment slots. After choosing a booking time, they'll enter their name, phone number, and email address. If you're accepting payment at booking, clients will then enter their payment information.
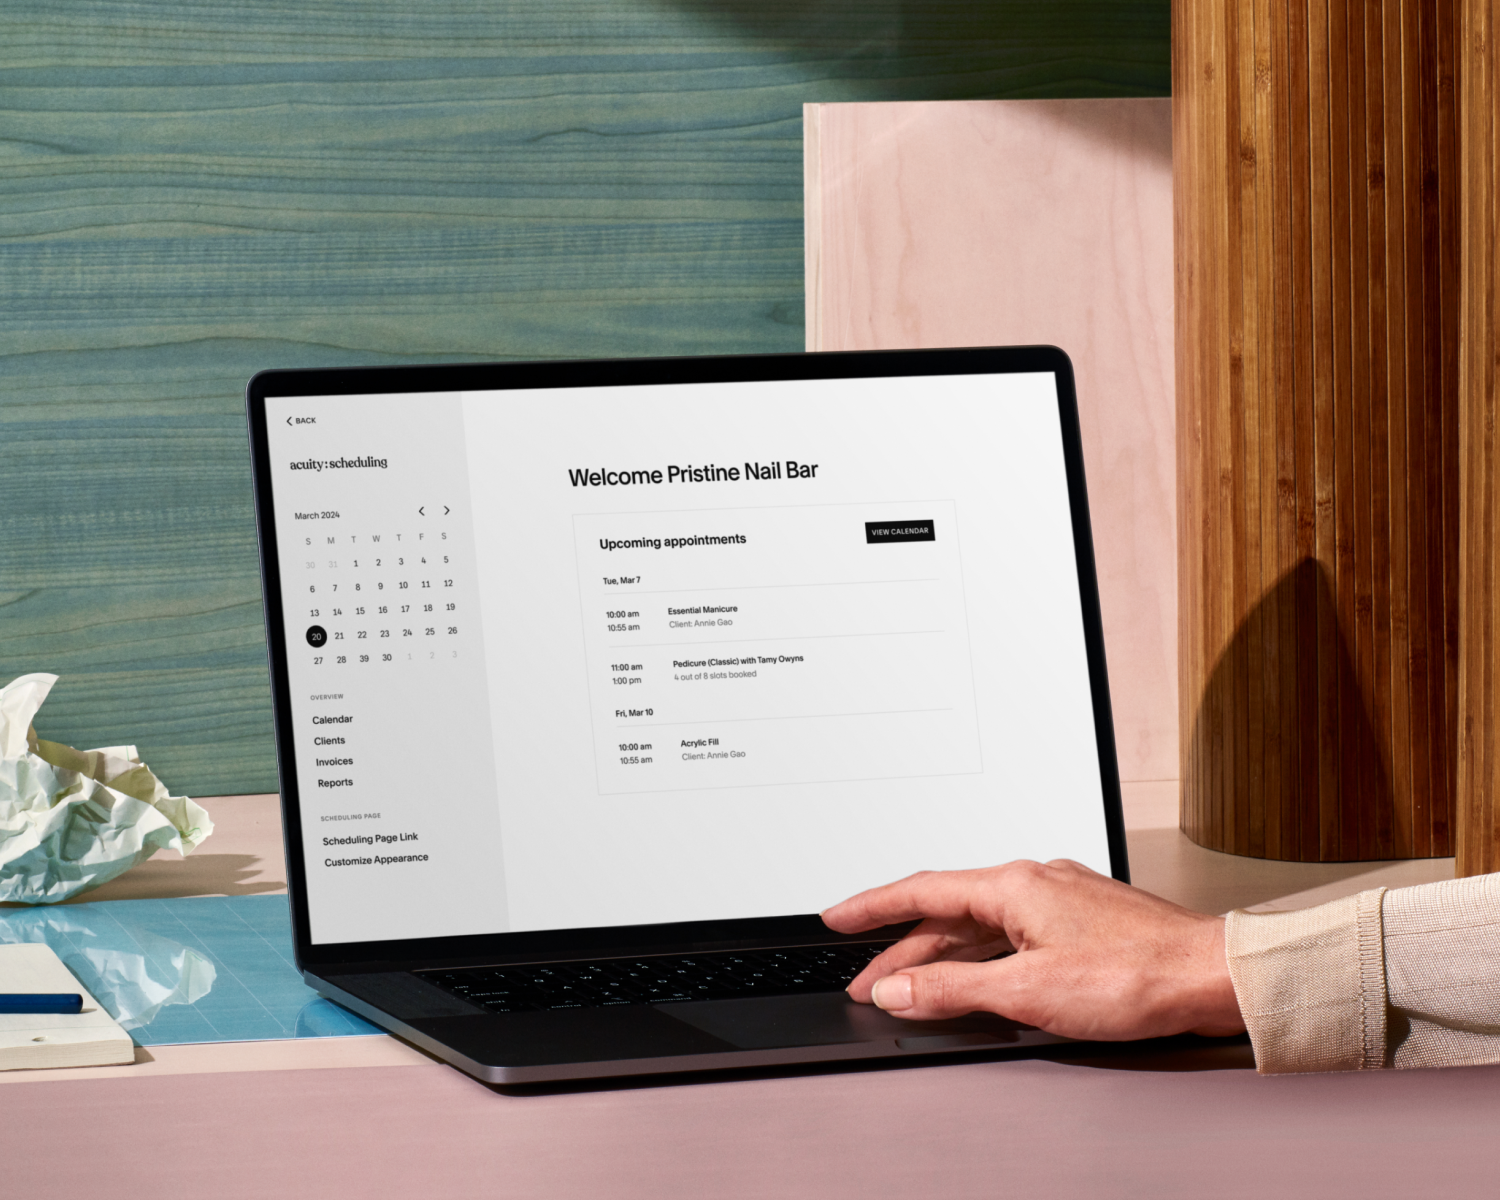
Confirming an appointment
Once they’ve submitted their information, clients are taken to a confirmation page with their appointment details. They also receive a confirmation email with the appointment details and a calendar invite.
Canceling or rescheduling an appointment
Clients can cancel or reschedule appointments through the initial confirmation email they received after booking. This will take them back to the confirmation page where they can make the necessary changes. Keep in mind, clients can only choose a new date and time. For other changes, edit the appointment internally from the Acuity calendar.
After canceling or rescheduling, they'll be taken to the client scheduling page with a message confirming the cancellation or updated appointment details. This will be followed by an appointment confirmation email.
The secret to spending less time scheduling
When clients have the ability to book appointments online, you get to spend less time coordinating time. If you have questions about how to customize your client’s online booking experience to ensure a smooth schedule, we’re here to help. Check out our help center for more resources or to get in touch with our customer support team.