Tutorial: Customize Your Client's Scheduling Experience
With an online scheduling page, clients can see your information and book with you in one place. Make scheduling time with your business more accessible by customizing your scheduling page so clients can quickly book time with you and seamlessly reschedule or rebook appointments.
Choose from monthly, daily, or class scheduling templates
With Acuity Scheduling, you can customize your schedule with two templates: monthly or daily.
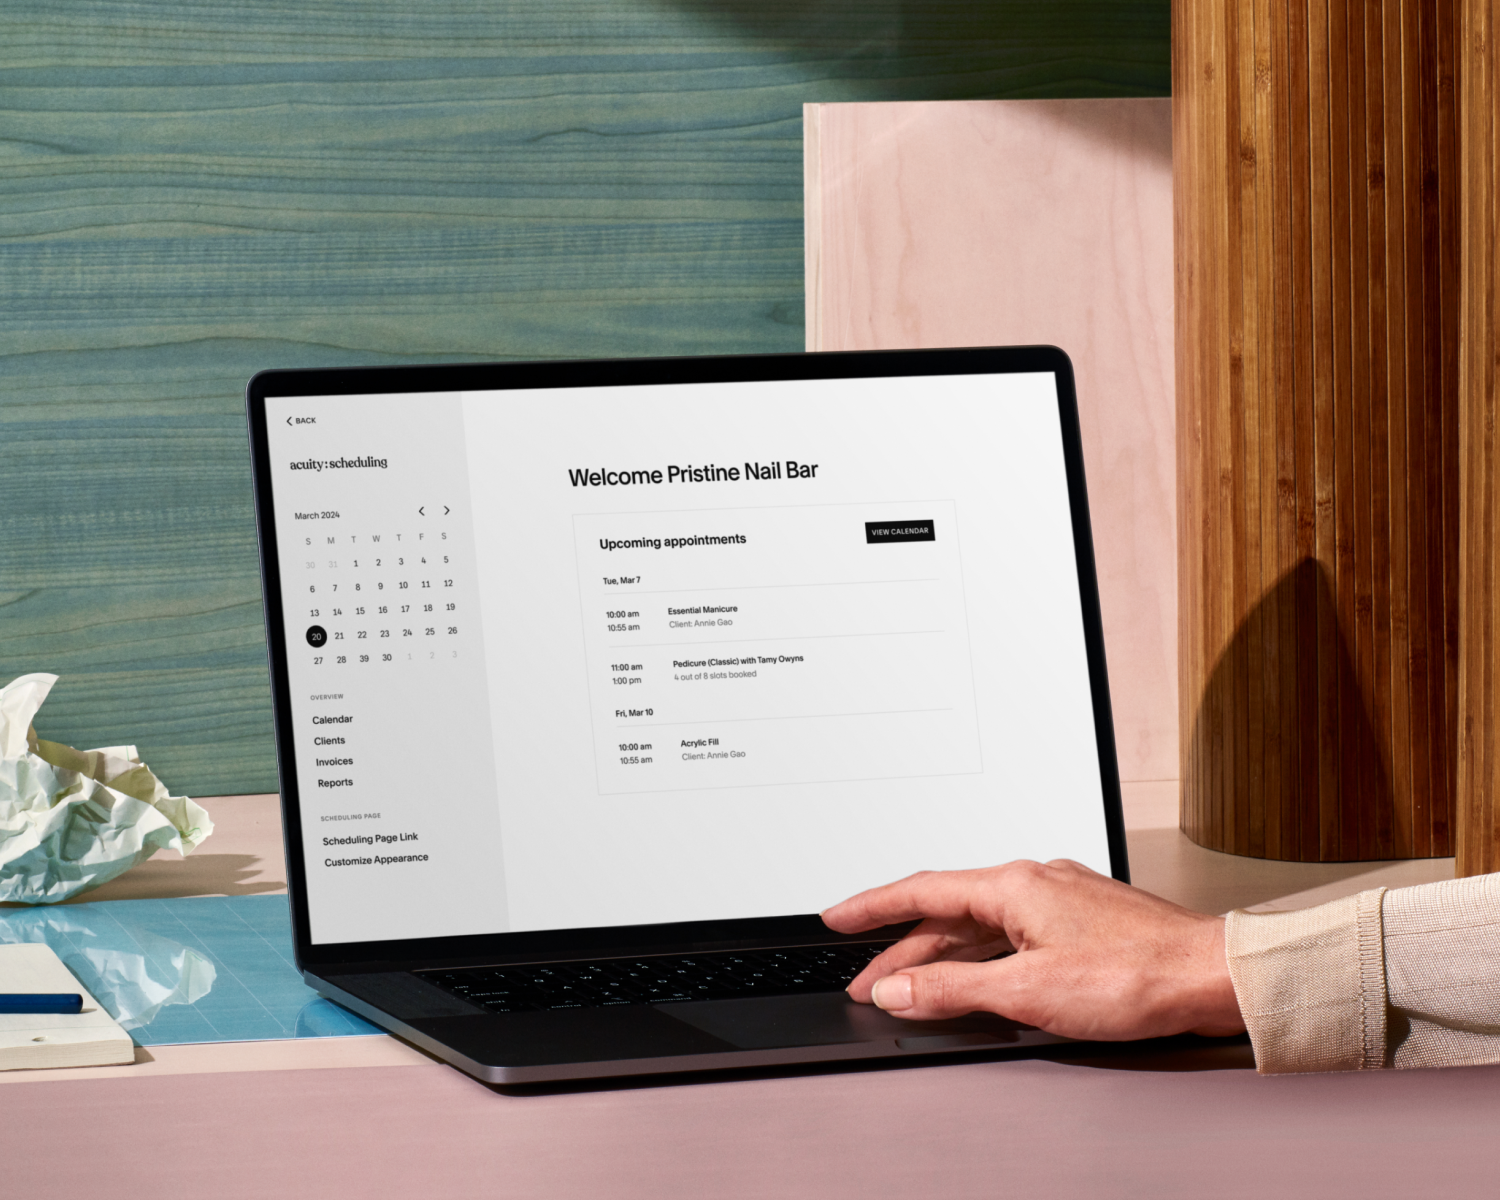
With the monthly template, clients get a monthly overview of your availability. This is best for clients booking more than a week in advance. Clients see each month listed out as a calendar. Days with times available are shown in black and available times for the selected date appear on the right. On mobile devices, it will appear down below.
When a client visits your scheduler, your available times will appear on either a daily or monthly view, depending on which scheduler template you select. Clients can scroll forward one month at a time to look for more openings or click on the month to jump further ahead.
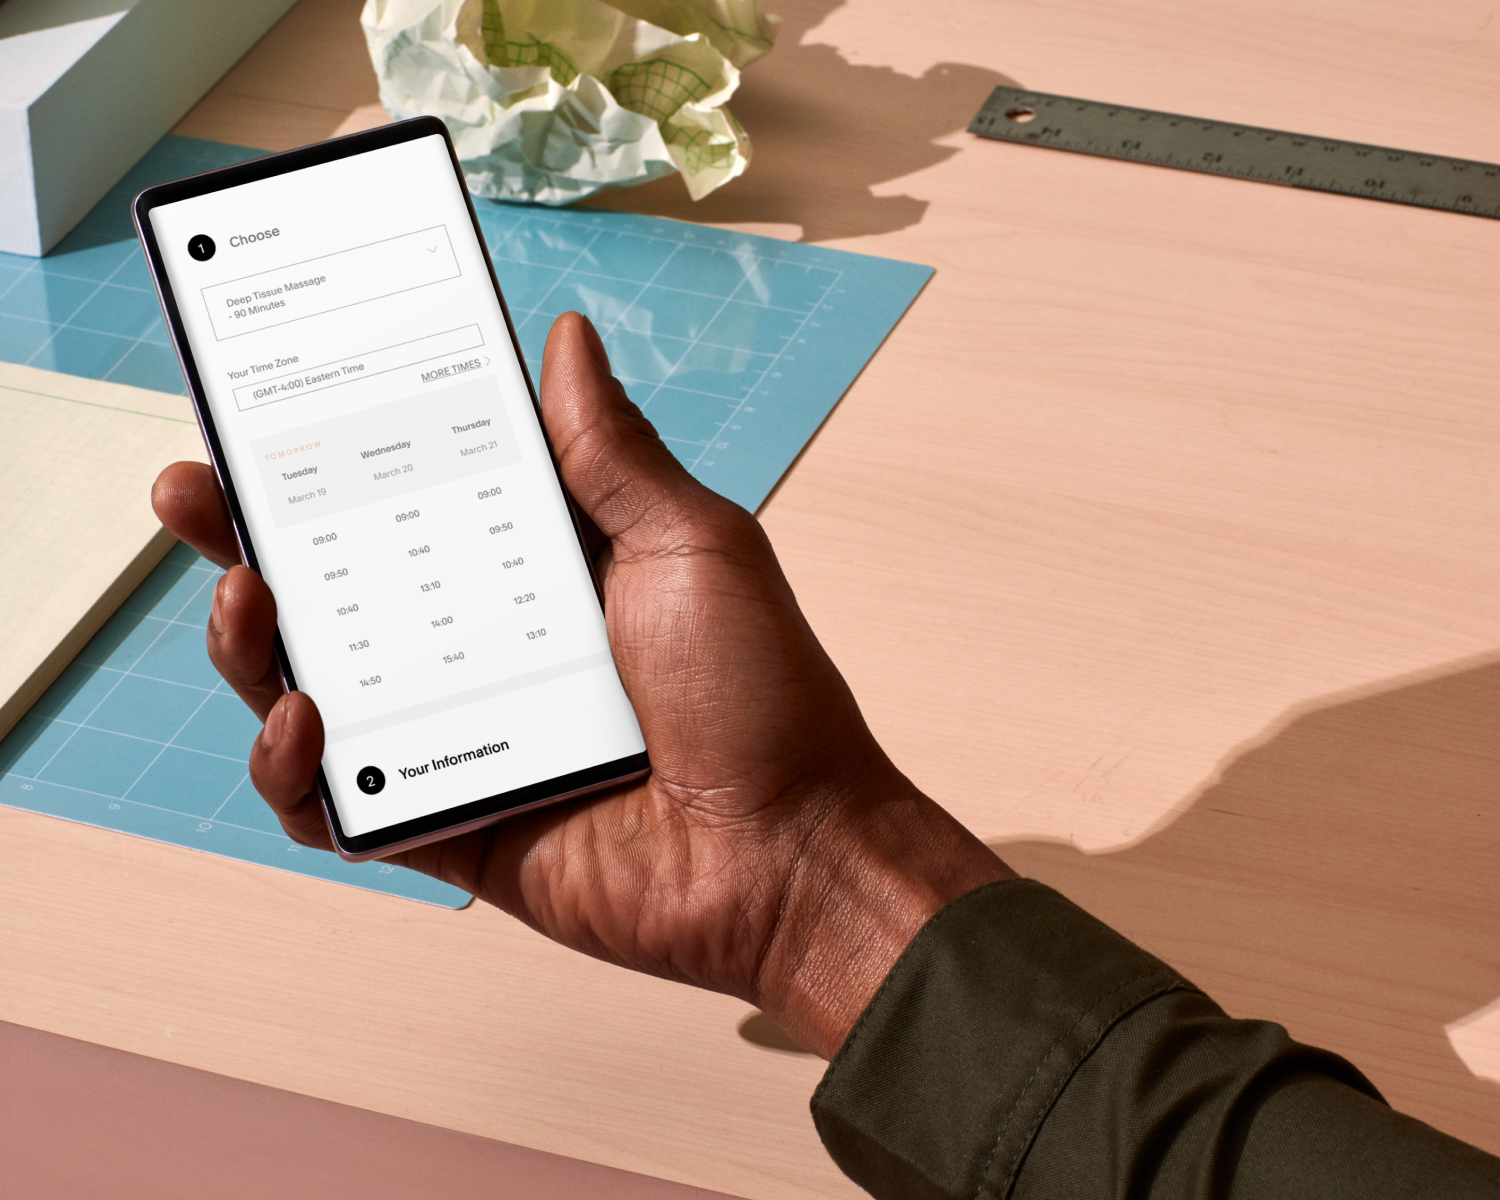
The daily template is best for clients who want an appointment as soon as possible. Clients can also review the next five days that you're available, with available times listed beneath each day on this template.
If you provide classes, Acuity’s platform automatically sets you up with a specialized template designed specifically for accepting class appointments.
Give your scheduling page a new look
Control how your scheduling page looks using different settings in Acuity. For example, add scheduling instructions to tell clients anything they need to know about booking with you. Use this section to share general business information, such as your hours, an image of your space, a link to driving directions, or anything else you want clients to know before they start booking.
Or, create categories for appointments with different types, lengths, or prices, and add service descriptions detailing what clients can expect from their experience with each service.
To add more personality to your business, customize the color display of your scheduling page to match your brand.
Set the correct time zone
To make sure that you and your clients are scheduled at the right time, set or change your time zones so that synced events and notifications will have the correct information.
Acuity Scheduling has advanced settings to control time zone preferences that work for your business. Clients can also set their time zone with the dropdown menu and will get notifications in their time zone once set.
Automate appointment notifications for clients and staff
With client communication options, you can easily configure automatic email and SMS notifications, reminders, and follow-ups to keep your clients informed and engaged. Stay in the loop by customizing the types of notifications you receive about bookings, too. Discover these customizable automations under the notification settings in the left-hand menu.
Email and text reminders are important tools for protecting your schedule and helping your clients stay on top of their calendars. Use automation to send reminders in days or hours before appointments to stay on track.
Customize client intake forms and policies
A clear cancellation policy sets mutual expectations for scheduled appointments. The best cancellation policies protect both you and your clients and are easy to enforce. Include your policy in your client intake forms at the point of booking so clients can accept your terms from the start.
Client intake forms can also be used to gather valuable personal information before an appointment, enabling you to customize a client’s visit according to their specific preferences, whether it's their hair or photography style.
Take the first step towards enhancing your service by accessing intake forms. You can access this information and any other important client information like contact information, appointment history, and client notes at any time using your client list.
Share your schedule to get booked in no time
When you're ready to begin accepting appointments, easily integrate your schedule into your website or share it directly with clients. Simply access the link any time from your dashboard by clicking on Acuity Scheduling in the top left-hand corner of your account. This way, your clients can conveniently access your schedule whenever they need it.


