Get Paid on Time for Your Time: How to Create an Invoice

After all the hard work and dedication you put into serving your clients, getting paid should be quick and hassle-free. The right booking assistant can make that happen.
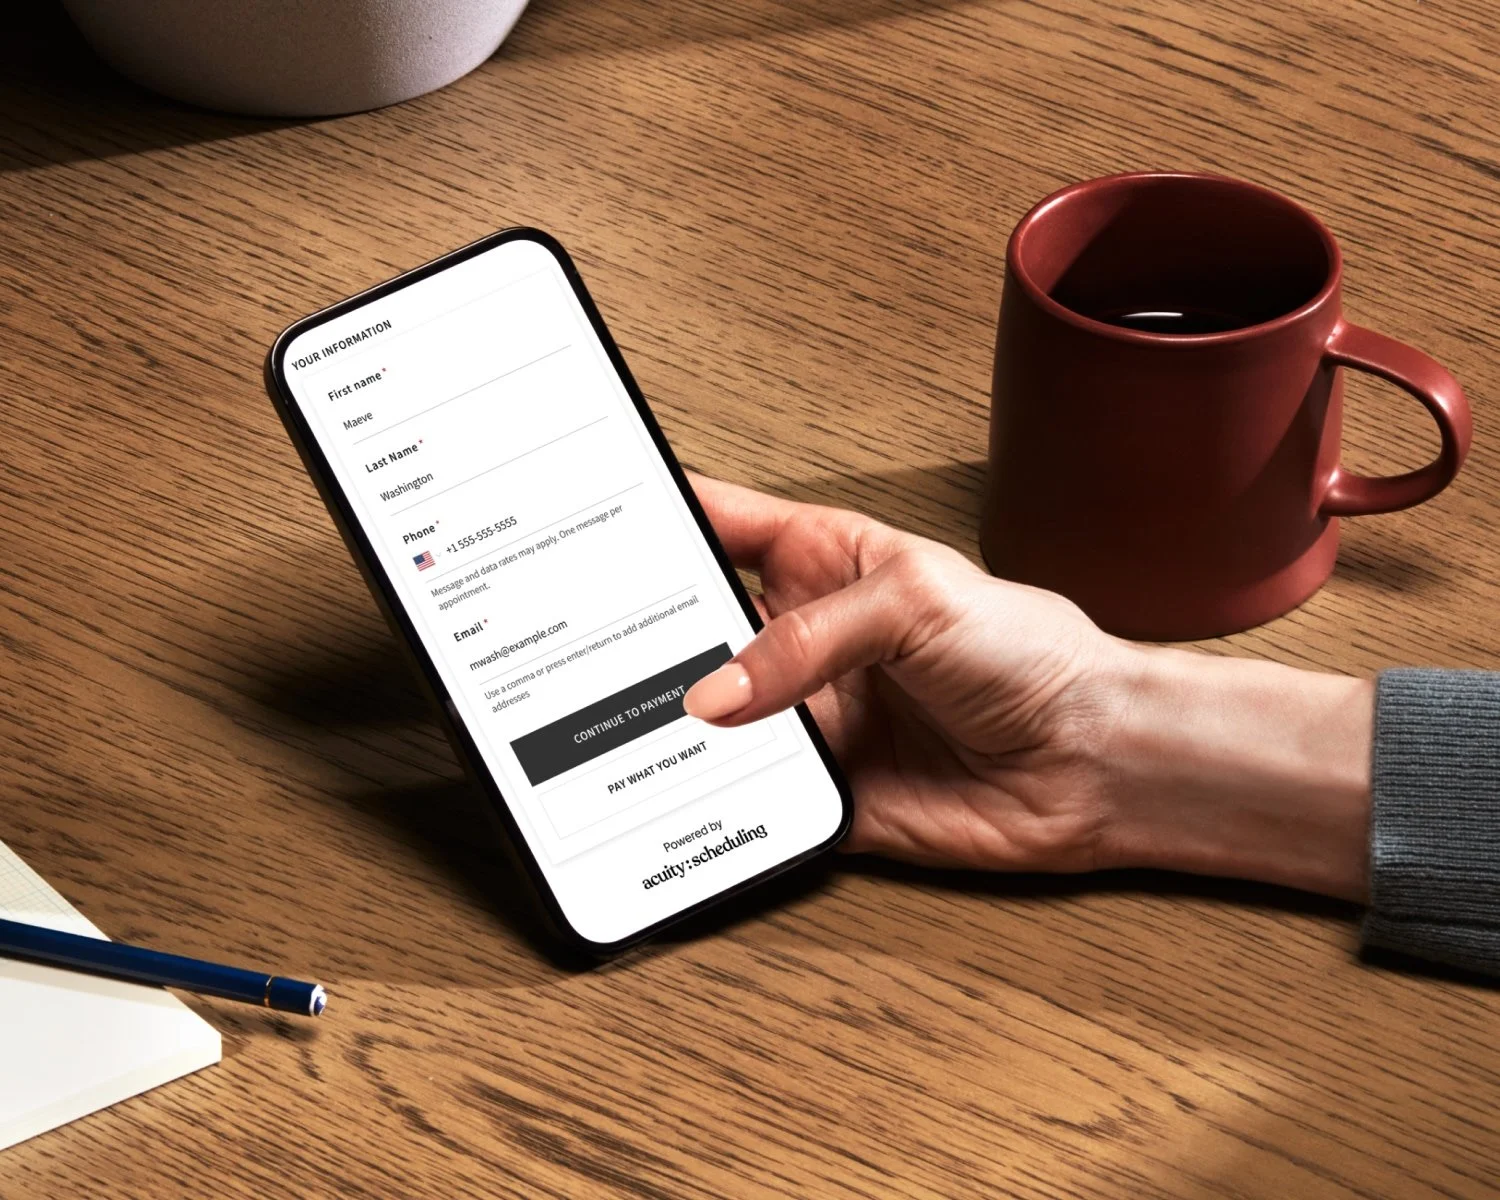
With Acuity Scheduling, the invoicing process is both efficient and effective for you and your clients, enabling you to create professional invoices in no time that they can pay directly in just a few clicks. Here’s how to use our scheduling software to create an invoice and ensure you’re compensated for your time, every time.
What is an invoice?
Before diving into the how-to, let’s clarify what an invoice is. An invoice is a document that outlines the services you’ve provided and the amount your client owes you. It includes details like the service description, the date the service was provided, the cost, and payment terms. Essentially, it’s a bill that requests payment from your client. This differs from a receipt, which confirms payment has already been made.
What to include in an invoice
Creating an invoice that clearly outlines your charges and services provided is key to getting paid promptly. Here’s the standard information business professionals typically include:
Business information: This includes your business name, address, phone number, and email.
Client information: The client’s name, address, phone number, and email.
Invoice number: A unique identifier for each invoice you send out.
Invoice date: The date the invoice is issued.
Service details: A breakdown of the services you provided, including dates, descriptions, quantities, and rates.
Subtotal: The total cost before any taxes or additional fees.
Taxes and fees: Any applicable taxes or additional charges.
Total amount due: The final amount the client needs to pay.
Payment terms: The due date and accepted payment methods.
Notes: Any additional information or messages for the client, such as a thank you note or payment instructions.
How to create an invoice with Acuity Scheduling
That might sound like a lot, but Acuity makes it simple to prepare invoices for every type of appointment, send them to clients, and collect payment on your terms.
To create a new invoice, simply click Invoices from within Acuity, then Create new invoice. In the client field, choose your client from the dropdown menu or enter their information manually. From there, begin adding your line items, choosing from your relevant appointment types, packages, and add-ons to autofill details, or setting quantity and price as you see fit.
After adding your line items, you also have the option to add tax or a message for your client, and set up payment notifications so you know the instant you get paid.
How to send your invoice to clients
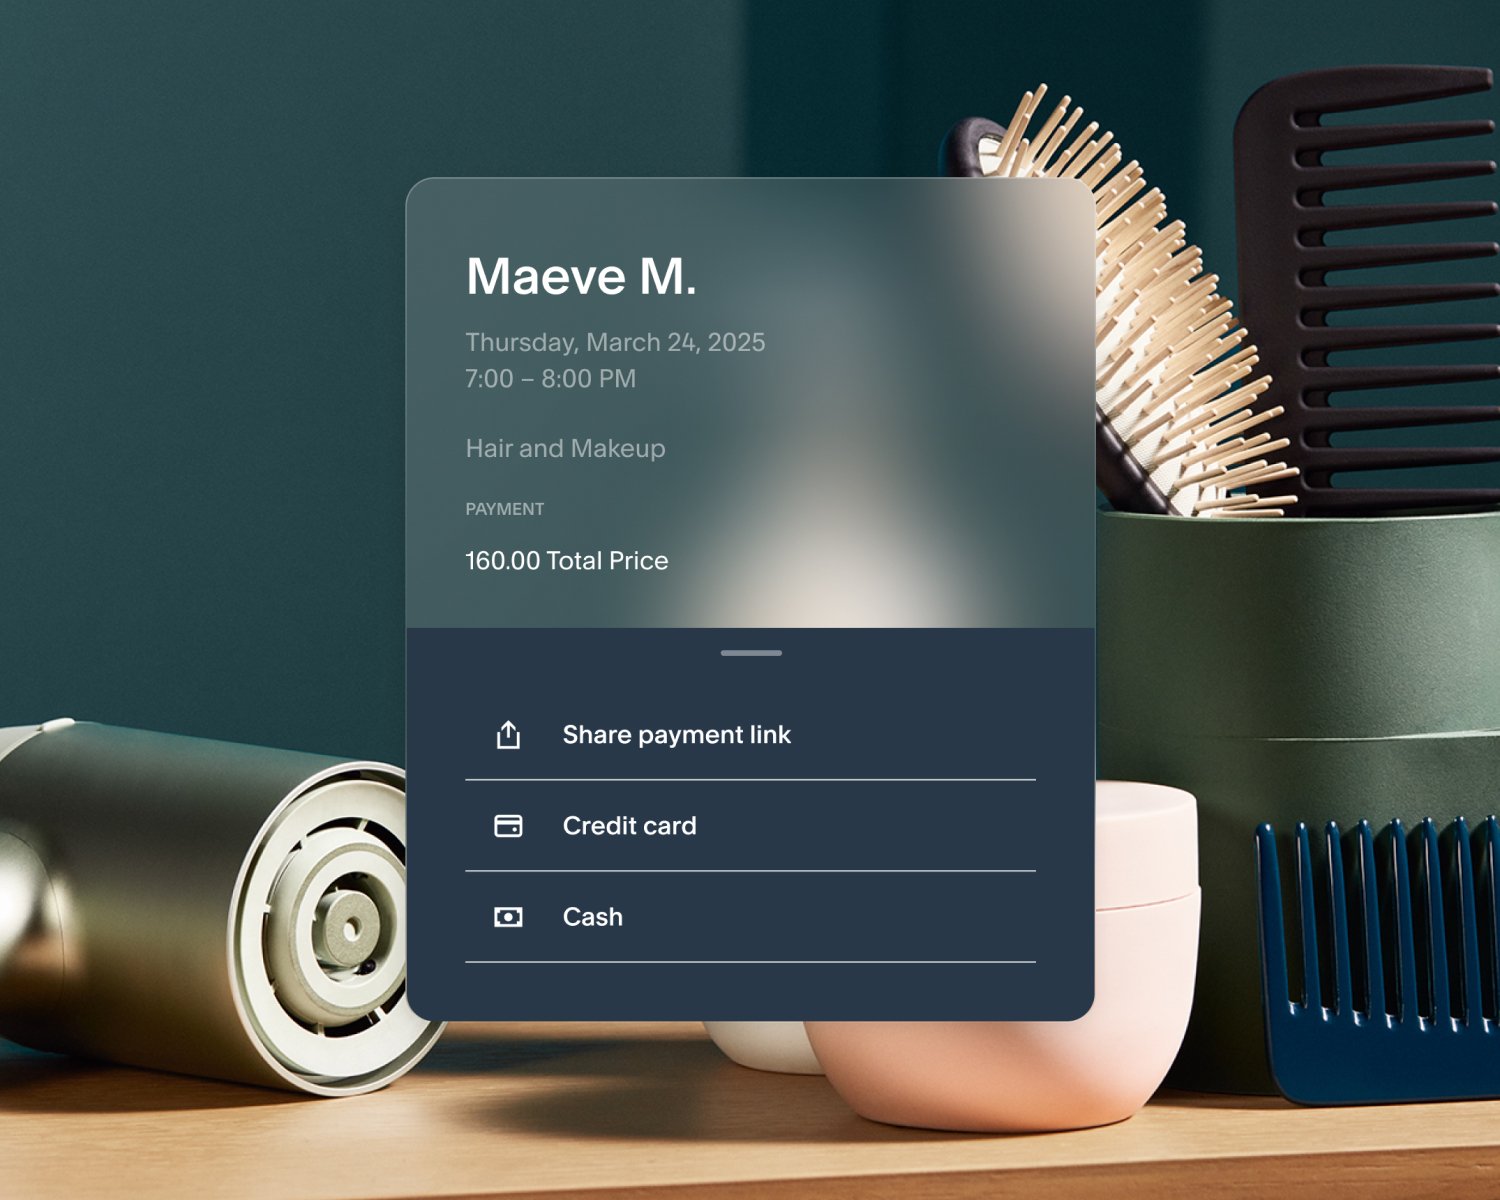
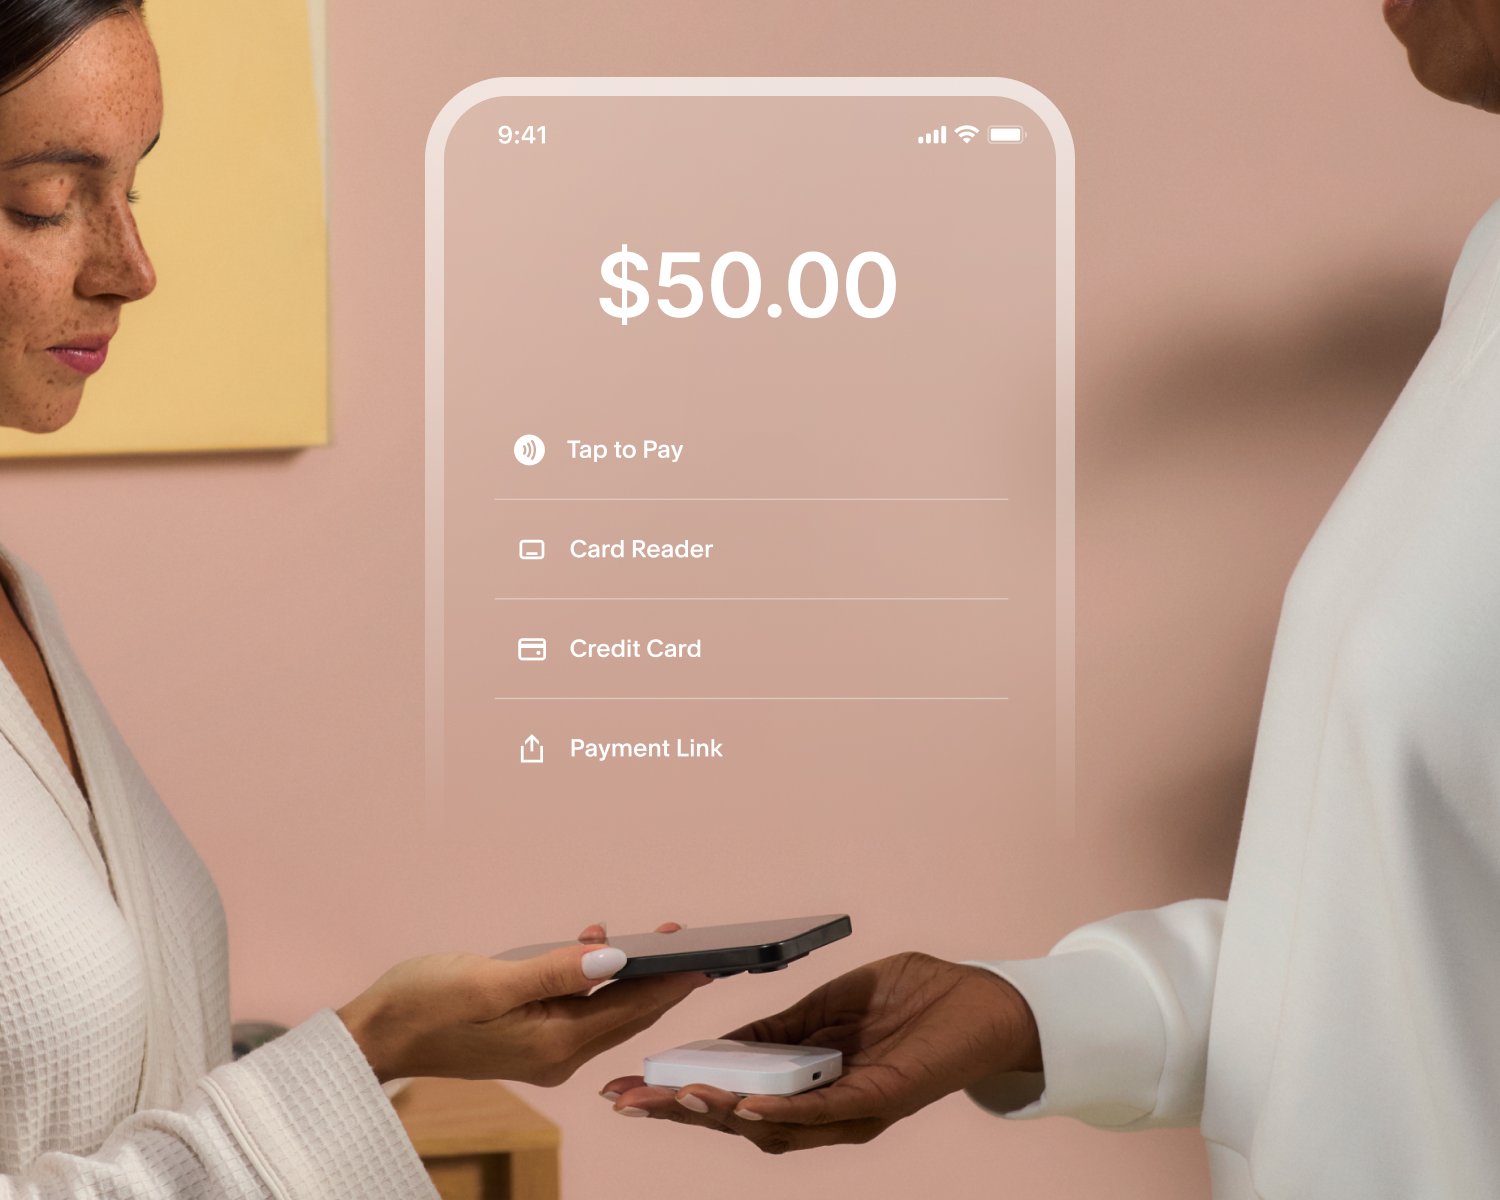
Before you can begin accepting payments, you need to connect a payment processor. Acuity integrates with Square, Stripe, and PayPal, enabling clients to pay directly without any friction. Once your preferred payment processor is connected and your invoice is ready, it’s time to send it to your client and watch the money roll in. You can do this in one of two ways.
Email the invoice: Automatically send an email to your client with the invoice attached.
Share a link: Generate a link to copy and share with your client through text message, a chat app, or a manually sent email.
If the due date is approaching and you haven’t received payment, a gentle reminder can help. With Acuity, you can use the link feature to share the invoice again and give them a nudge.
Cha-ching! Get paid with Acuity Scheduling
Invoicing doesn’t have to be a headache. With Acuity Scheduling, you can create, send, and manage invoices with ease, so you always get paid. Whether you’re in the beauty industry, business services, education, or any of the numerous fields we support, our scheduling software has what you need to streamline your billing workflows.
Visit our help center for the complete step-by-step breakdown of the invoicing process, from creation to invoice management. If you’re ready to get started, try Acuity for free today to experience the convenience of having everything you need to book and accept payment in one place.